
In this article we're going to look at webhooks.
A webhook is basically an integration to an endpoint (API) from where you can get information from an external source to use with your bot.
We have covered adding blocks before, so for simplicity sake we will assume (for the scope of this article) that you already know how to add a block as a webhook is considered to be one of the more advanced platform functionalities of Buildabot.
Let's dive in!
TYPICAL USES FOR THIS:
- Data enrichment.
- Enriching the customer interaction experience by providing responses (eg. documents, account balances and other kinds of data) not available directly on Buildabot.
Essentially, you will use this to access an outside data source to enhance the user interaction depending on the bots function. You can call virtually any kind of data via an API and have your bot use it.
STEP 1: Add a new block.
STEP 2: Select the "Integrations" category.
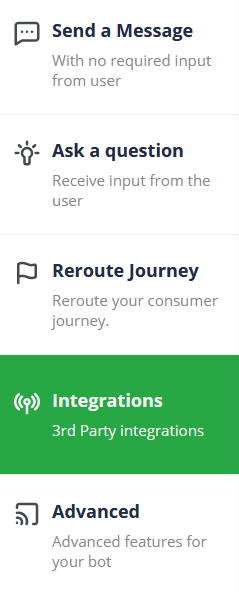
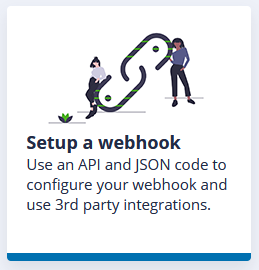
STEP 3: Select the "Setup a webhook" block.
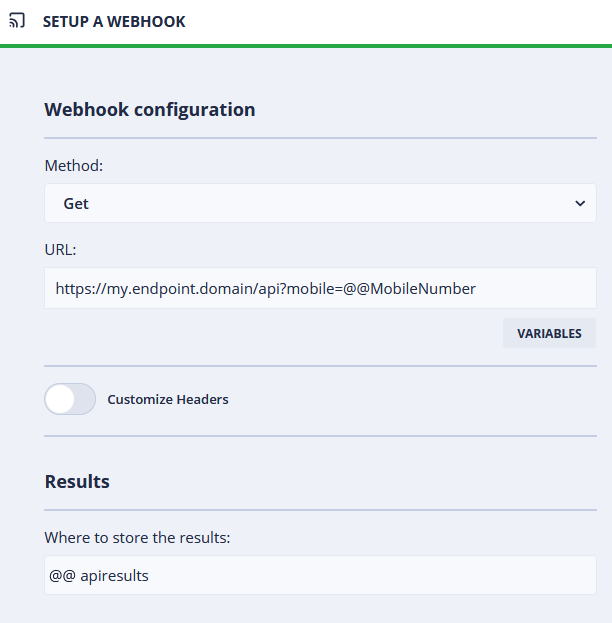
The following window will appear:
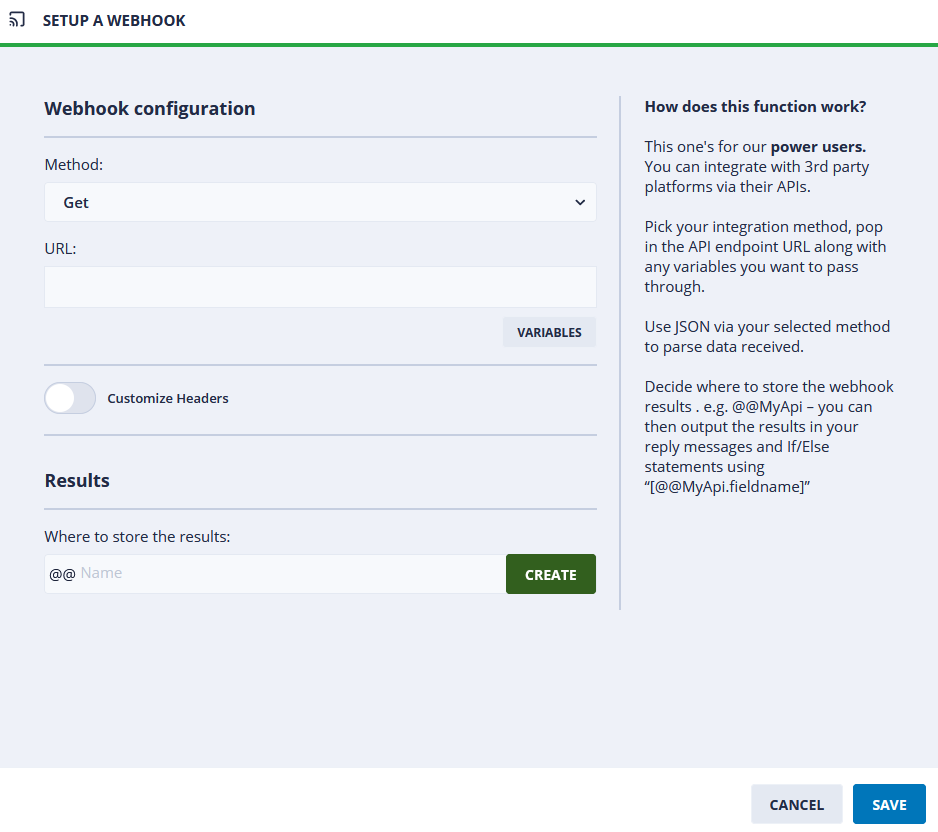
Let's explore the elements of this page.
You have a few elements with which you can interact here such as:
- Method
- URL
- Variables
- Customize Headers
- Results
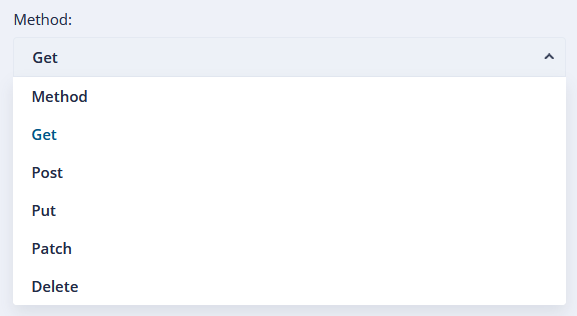
Let's start with "Method".

Method is how you define your interaction with the API/endpoint of the remote data source. Supported methods are listed in the image below from the drop-down here.
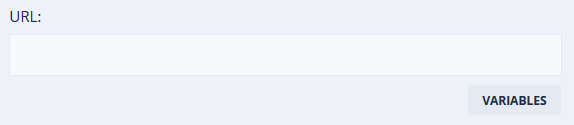
URL:
Here you will insert the URL to the remote data source end-point. Usually this will follow a format similar to:
https://my.endpoint.domain/api
And from here you are likely to use a query string "?" with varying parameters depending on what data you are attempting to access via the endpoint. If you are using this functionality, you probably are a developer, are well versed in using API endpoints or will have someone assisting you with setting this up anyway.
You can use variables here too from Buildabot. So for example, if you know the endpoint has a hook for Mobile, then you may want to add ?@@MobileNumber to insert a mobile number from the consumer interacting with the bot to find a common number on the endpoint, and then use that query string to return another record (for data that you may not have on Buildabot with your bot). You would then store the returned results from the endpoint into the "Results" section which we will look at a bit lower down in this article.
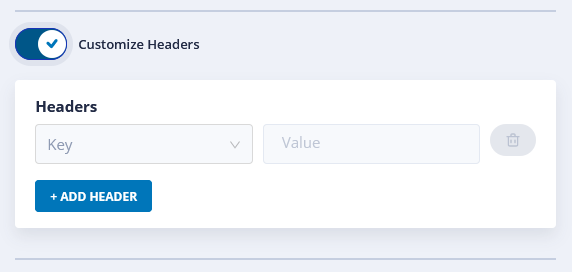
Customize Headers:
You can customize your headers to the endpoint, so things like useragentstring can be manipulated among others. A dropdown list is available below showcasing some of the headers you can customize.
.png)
Enabling the "Customize Headers" button will produce the following change to the page. Here you can select the "Key" value you'd like to customize, and you would enter the corresponding "Value" alongside you'd like to customize it to.
You can add more key values by clicking on the "+ADD HEADER" button.
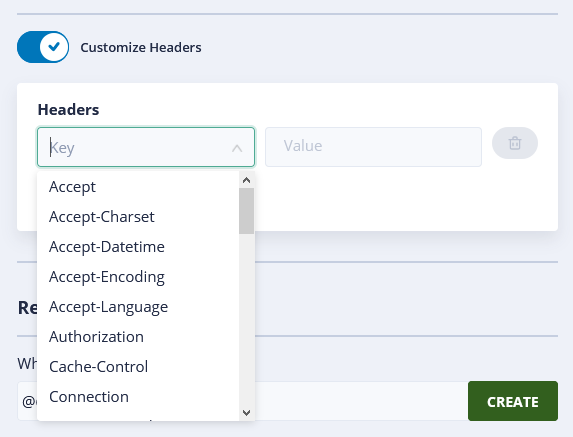
Here is an example of some of the values you can customize, the list is quite extensive and we invite you to take a look at the full list.
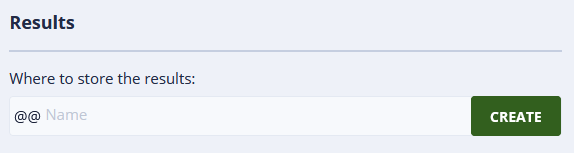
Results:
Here you would set a variable on Buildabot in which you want to store the returned results from the endpoint you are connecting to. The results come back as a JSON string, and you will define a variable into which the JSON string will be stored on reply from the webhook integration when a query action happens.
STEP 4: Click on "Save" to save your webhook block once you have completed (at minimum), the following elements of this block:
- Method
- URL
- Results variable
Example:
API results have a more granular level at which you can focus result extraction by using them as follows:
Looking at each of these:
@@apiResult
As previously mentioned, will store a full JSON string from the API into where you wish to store your results.
@@[apiResult.fieldname]
@@[apiResult.fieldGroup.fieldname]
Allows you to extract a specific field from the JSON string inbound via the API at a deeper level where the "fieldGroup" defines the additional level under which the "fieldname" value you are extracting falls under. This means that the "fieldGroup" is a filter of sorts under which your "fieldnames" within that "fieldGroup" reside.
Result:
Once saved, you will see your webhook block appear in your bot editor window attached to the last block onto which you added your "Setup a webhook" block.
.png)
You will see 3 branches coming off your webhook block - all of which are "Webhook responses". There are 3 possible response types you will get from the webhook (also known as the "remote end").
- Webhook success - As the name implies, a successful query to the webhook (API endpoint) took place and returned results which would be stored in your "Results" variable you set earlier called "@@apiresults"
- Webhook failure - If a failed query took place, the webhook returns a failure result which would be stored in your "@@apiresults" variable.
- Webhook error - If an error occurred interacting with the webhook, a result will be returned and stored in your "@@apiresults" variable.
From here, you can then continue building your bot by adding additional blocks taking whatever avenue you prefer.
Done! You've successfully used the "Setup a webhook" block.