
Send a Sticker to your user to created a more focused media experience. This differs from "Send media" in that it enables a more focused, quicker "image based" experience that is lighter on data for the user. This ensures the sticker (image) can be delivered more quickly as the file size and format are more closely controlled.
It also enables your creative team to create a series of stickers that are properly optimized for use for your brand enabling a more brand-centric experience that comes across consistently and quickly.
Key to this feature is the convenient template we provide that your creative team can use to quickly create a range of stickers for use.
- We provide a Adobe Photoshop template example.
- Creatives can use any application of their choice with the guidelines we've provided:
- Supported file format is .webp
- Image resolution must be 512x512 px
- File size must be 100 KB (0.1 MB) or less.
How to convert your PNG images to WebP
Create stickers easily by converting a PNG file to a WebP one. Ensure your PNG file is 512 x 512px in dimension. Simply create your PNG image in your tool of choice, save as a PNG file and then visit the following link to convert it to a WebP file by uploading your PNG:
What is WebP format?
It's a format developed by Google. It is a newer generation file format optimized for the internet and has vastly superior compression technology to provide significantly smaller files compared to JPEG (or PNG which is a lossless (uncompressed) format), while including an alpha channel (transparency) also. This results in a significantly smaller file size with a lower loss in quality (relative to anything JPEG offers).
What are the benefits of Sending a sticker?
- Provides a standardized image size and format that is optimized to appear correctly for your users.
- Allows you to create a sticker collection, branded or campaign specific.
- Optimized file size ensures faster delivery and less data use for the recipient.
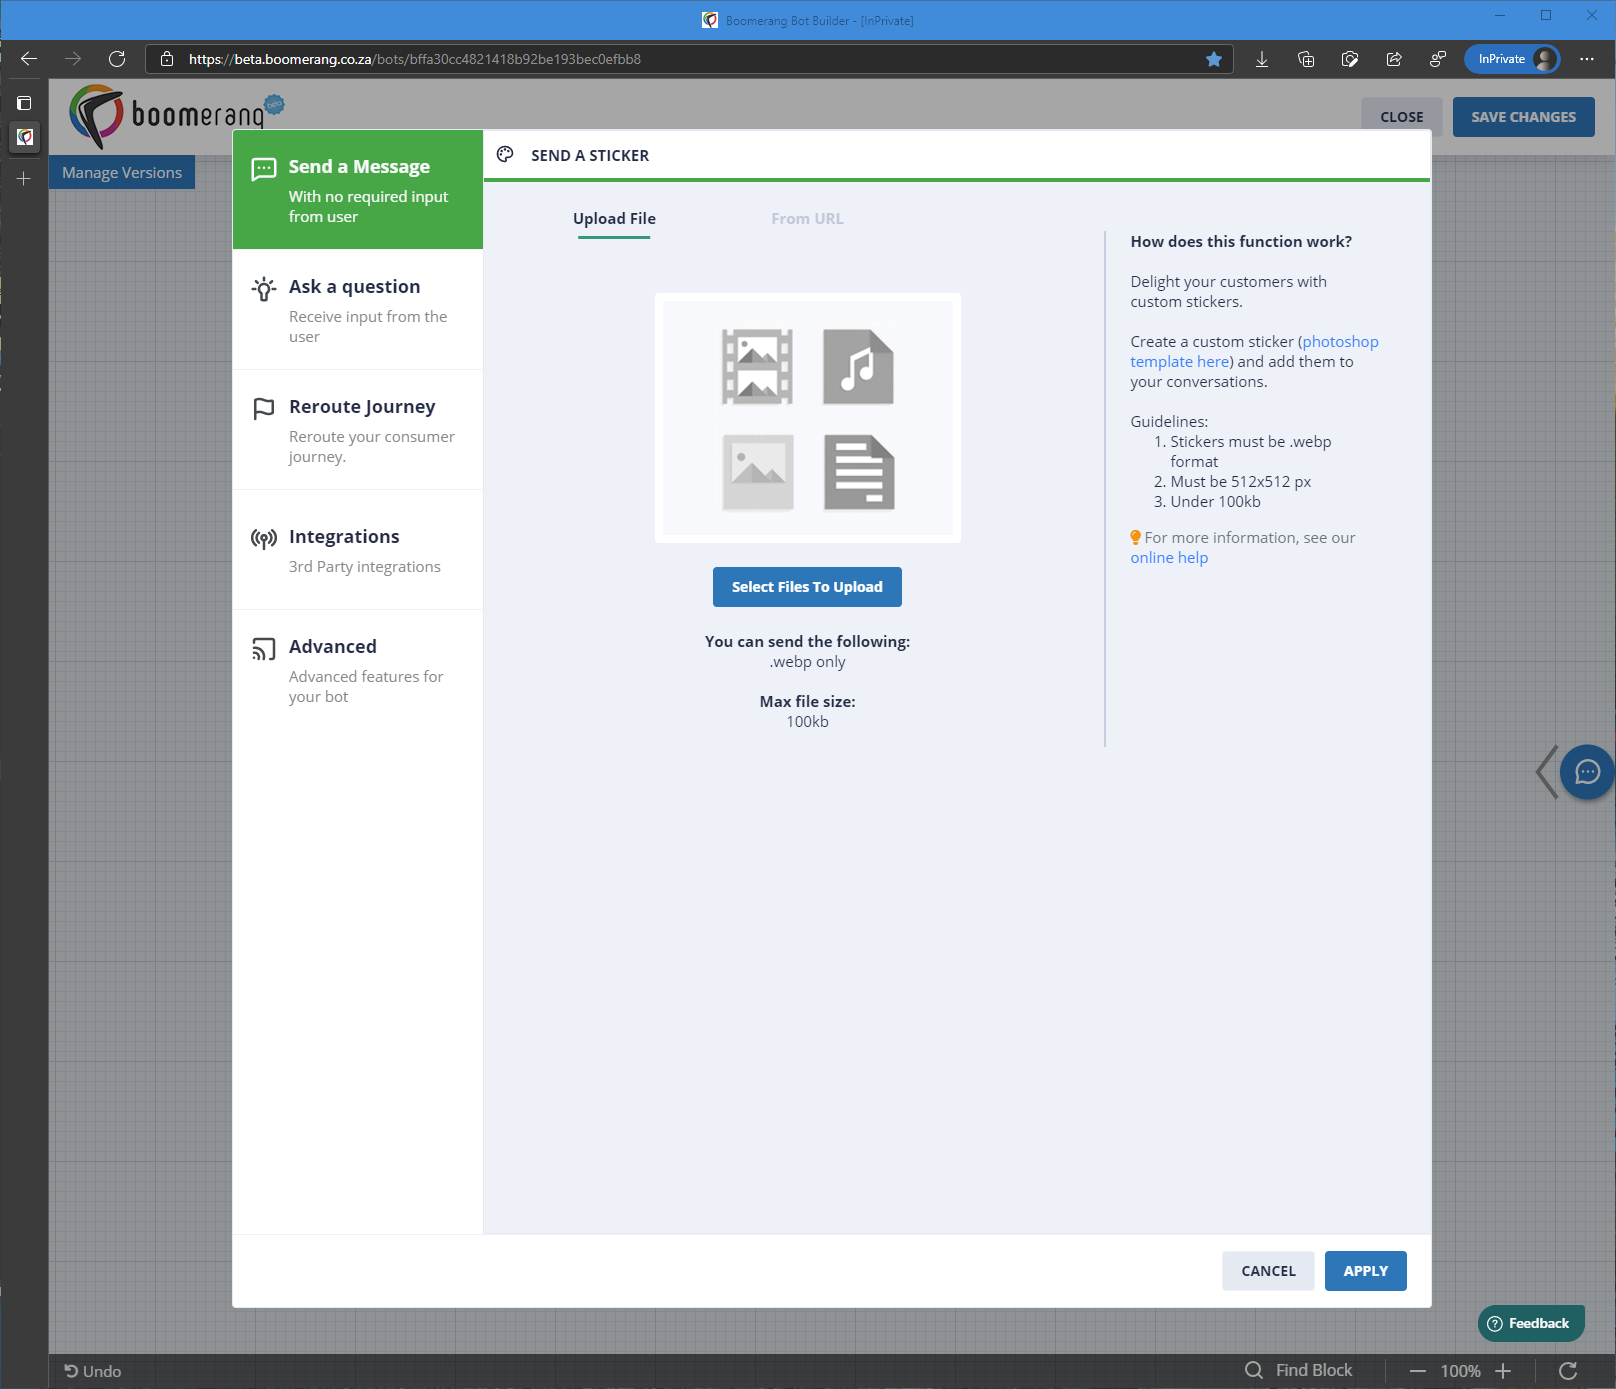
Lets unpack the available features within this block and what you can do with it.

Select the type of media you’d like your bot to send. You can select from the following:
- Upload File.
- From URL (if your file is hosted elsewhere).
Each option will present you with an element you will need to interact with in order to proceed. Let’s see what each one does:
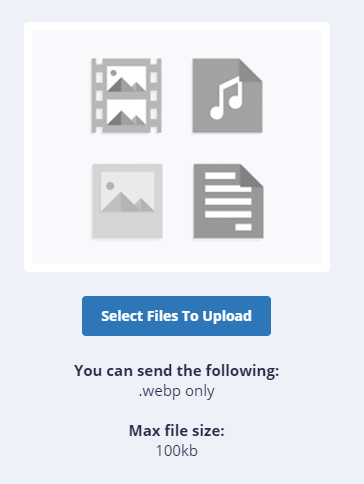
Upload File
This will require you to “Select Files To Upload”. Click on the button and use your file explorer application to browse to the file you’d like to upload.
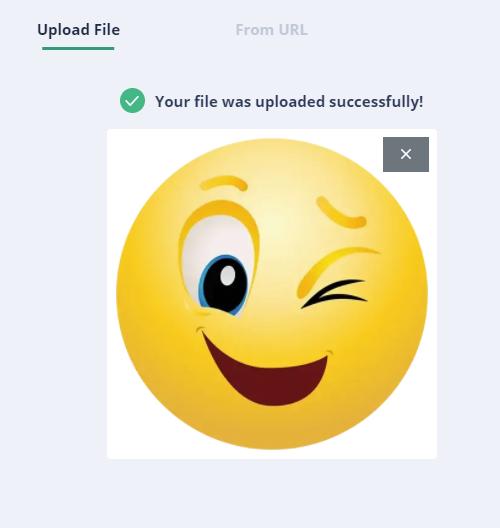
Once successfully uploaded, the window will update like the example shown below.
Once you click on “Apply” you will see the new block appear in the block editor. See below:
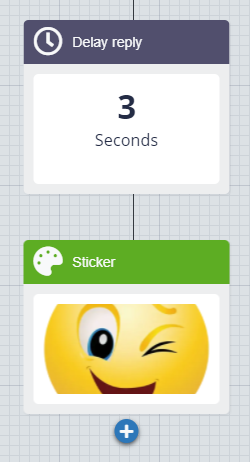
And from start to finish, it would look like this:
Do this by:
- Adding a new block.
- Selecting “Send a Message” as the category (It is usually selected by default).
- Select the “Send a Sticker” block.
- Select from the available options along the top of the block for the type of media you’d like to send. Available options are:
- Upload File (Remember, in this case only a 512 x 512 px .webp under 100 KB (0.1 MB) is supported).
- From URL (If hosted elsewhere - Same format rules apply).
- Then click on "Select Files To Upload" and browse to the correctly formatted .webp file of your choice.
- Click on "Apply" and your sticker block will appear in the builder window.