
Present your user with a menu selection by using the “3 Button Menu (Split)” block within the “Ask a question” category. This will have your bot give your user a menu with button interactions allowing pre-set choices to be made available. Users can simply tap on the button to select the path they would like to take.
TYPICAL USES FOR THIS:
- Asking a user to make a selection either using a pre-determined menu selection (where you want to avoid any ambiguity).
- Asking a user for an opinion or rating.
- Trying to direct the user engagement along a specific flow/path within your bot by requiring them to make a choice using templated answers.
Lets unpack the available features within this block and what you can do with it.
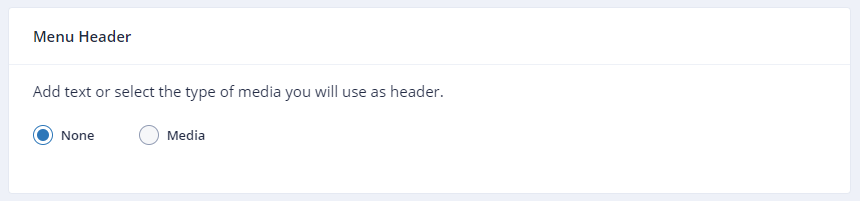
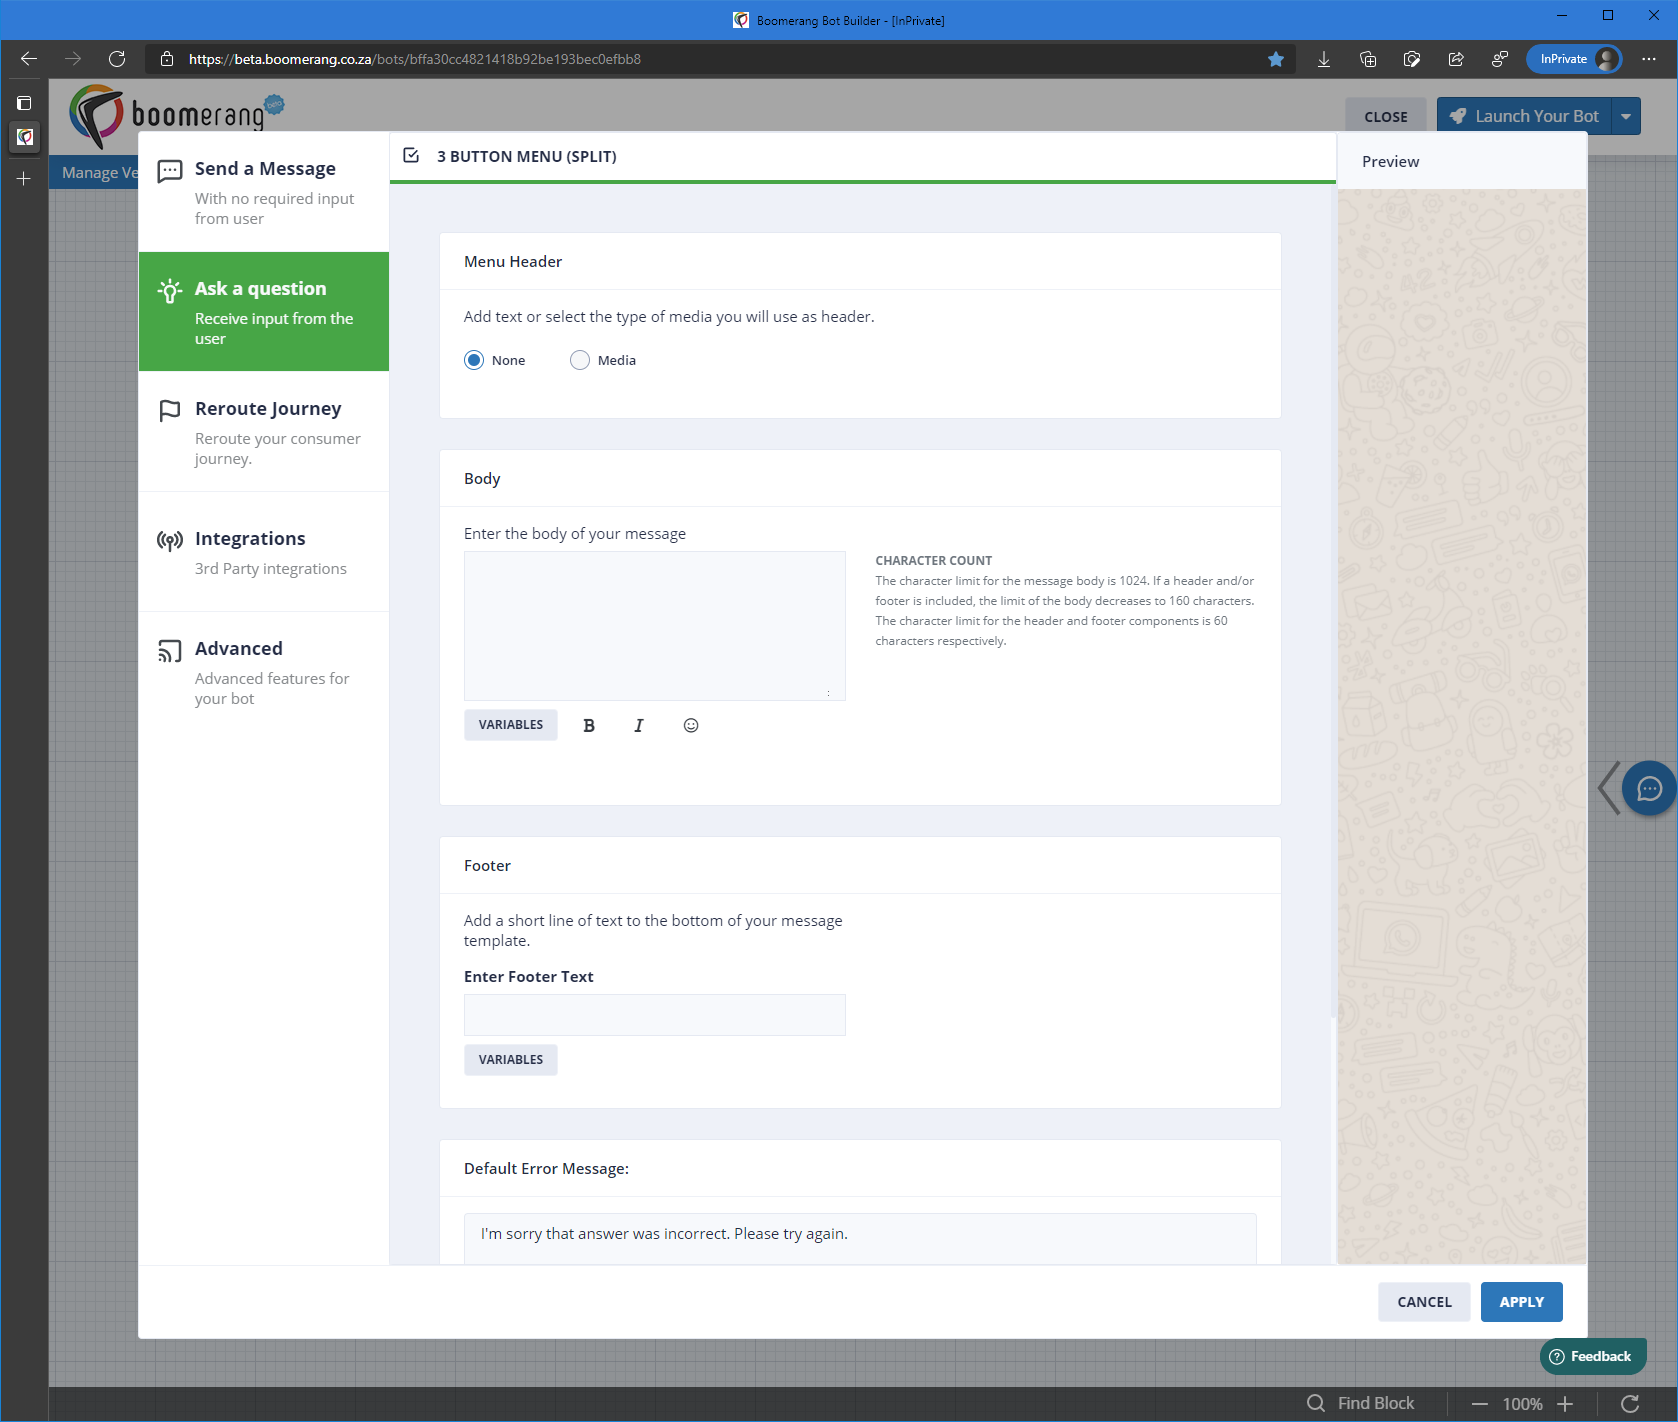
Menu Header – You have the choice of including rich media or nothing but plain text for your menu.
Selecting "Media" will enable additional options at which point you will select between Image, Video or Document and then upload an appropriate file.
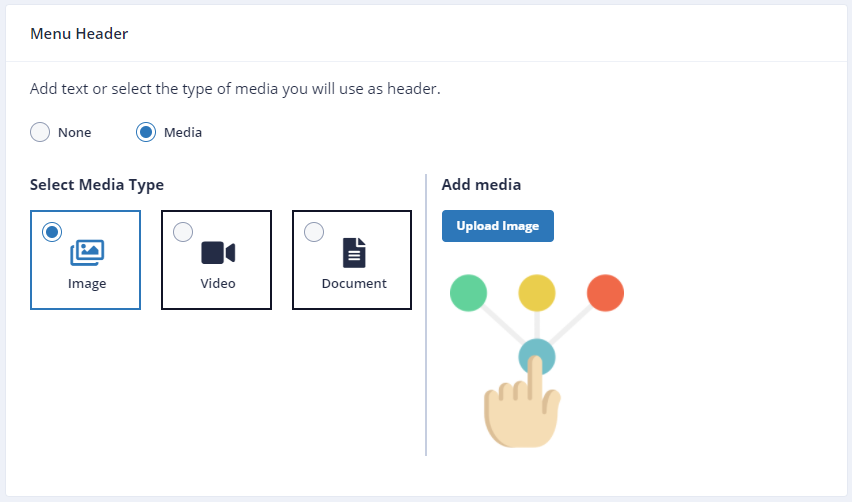
Preview – Just to the right of the available options is a preview window which will show you how your menu will look depending on your selections during configuration. It will update in real-time as you make changes so you can see what the end result will be.
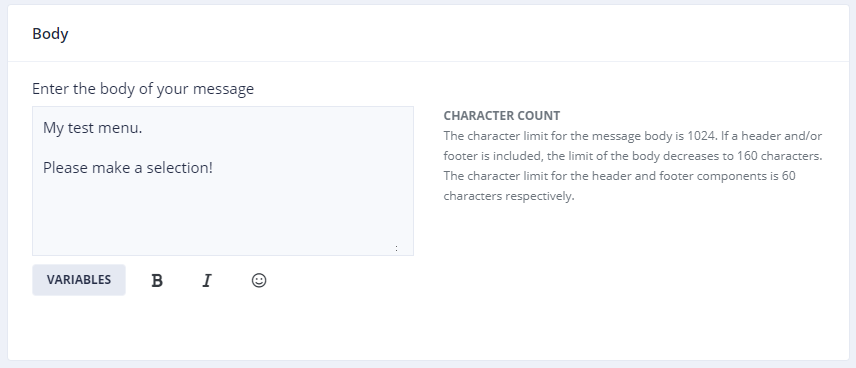
Body – Here you can provide instructions or information to give context about your menu.
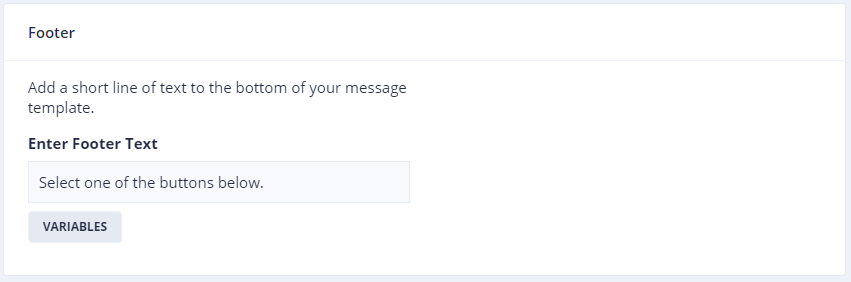
Footer – This will allow you to add a caption of sorts to your menu. This is a smaller piece of text which sits below any media (if you selected that option) and the main menu context information (text for the body in the previous example above).

Default Error Message – As the name implies, you can provide an error message of your choice to cue your user with more information on what you expect them to do.
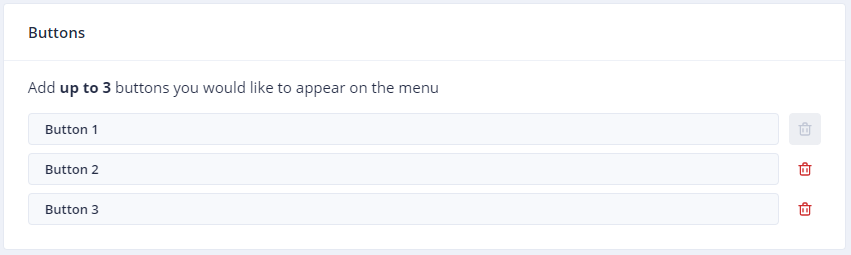
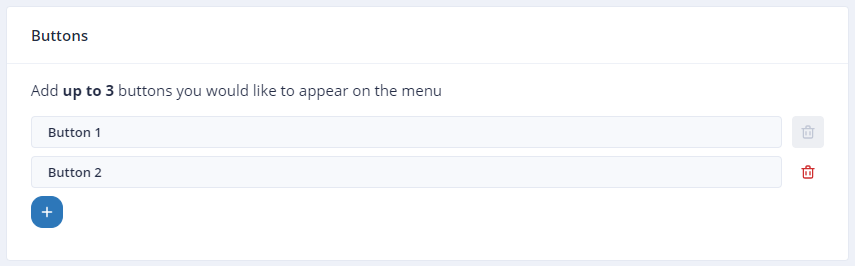
Buttons – Here you will configure the actual buttons you'd like added onto your menu. You can have up to a maximum of 3 buttons only. Add a button by clicking on the blue plus (see example below):
Use the red "bin" icon to remove a button if you no longer need or want it.
Once created, your question will appear as follows in the bot builder flow:
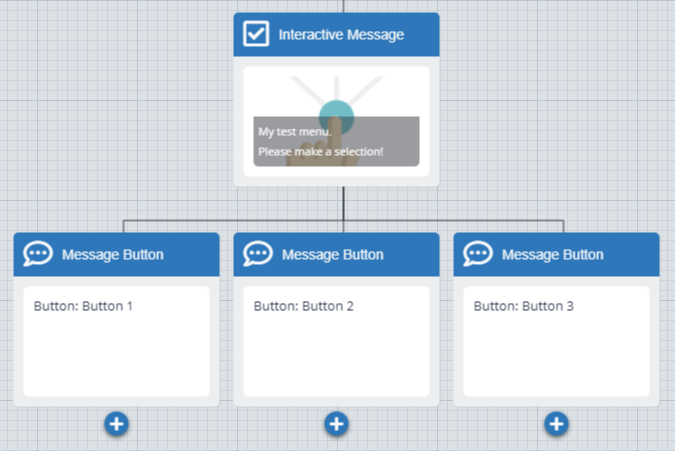
As you can see from above, there are now 3 "Message Button" blocks which have appeared under the "Interactive Message" block. Each button selection (Button 1, 2 and 3) will go down the path to their corresponding "Message Button" block which will have the button text appearing based on what you configured when setting up the Menu.
- Message Button (Block 1 on the left): “Button: Button 1”
- Message Button (Block 2 in the center): “Button: Button 2”
- Message Button (Block 3 on the right): “Button: Button 3”
You now have a fork in your flow/stream from which you can choose 3 separate further interactions your bot can make with your user going forward.
Let’s take a look at this entire flow below:
.gif)
Do this by:
- Adding a new block.
- Selecting “Ask a question” as the category.
- Select the “3 Button Menu (Split)” block.
- Select if you'd like to add rich media or not in the "Menu Header" section.
- Upload any media should you select this option.
- Complete the "Body" section to outline the instructions/create the context for your menu.
- Add a "Footer" to appear just below the Body of your menu.
- Customize your “Default Error Message” if you’d like.
- Add up to 2 buttons in the "Buttons" section and control the text that appears on each button.
- Click on "Apply" to add the block to your bot flow.